Virtualization is a term used for creating a virtual version of a computer. The virtual version will have its own dedicated amounts of CPU, memory, and storage that it gets from an actual physical host. A virtual machine is a file typically referred to as an image.
Virtual machines can be used to host web applications, serve as a personal computer, or be used for testing different machine configurations to test performance of code in development. A lot of companies will use VMs as a way to provide a computer to a contractor or other temporary resource that has access to the companies digital ecosystem.
Deciding to use virtual machines as opposed to physical computers come with the following benefits:
- Cost savings - By being able to run multiple machines from a single physical piece of infrastructure.
- Speed - VMs are fast to spin up and tear down as needed. Much easier than building a physical computer for each employee.
- Scalability - You can scale up fast by taking advantage of using physical or virtual servers to distribute workload.
Provisioning and configuring Azure Virtual Machines in Azure is relatively simple and straight forward.
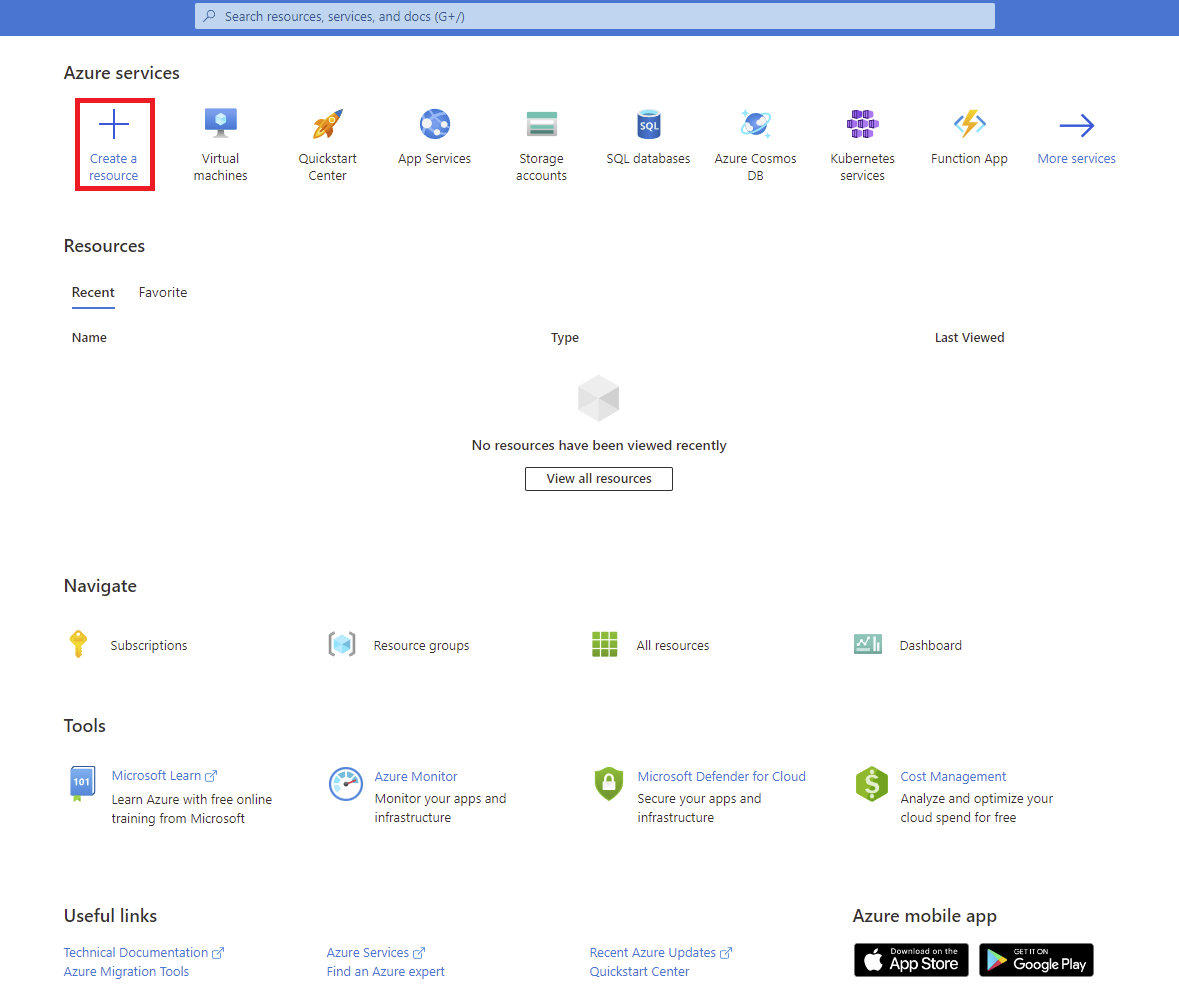
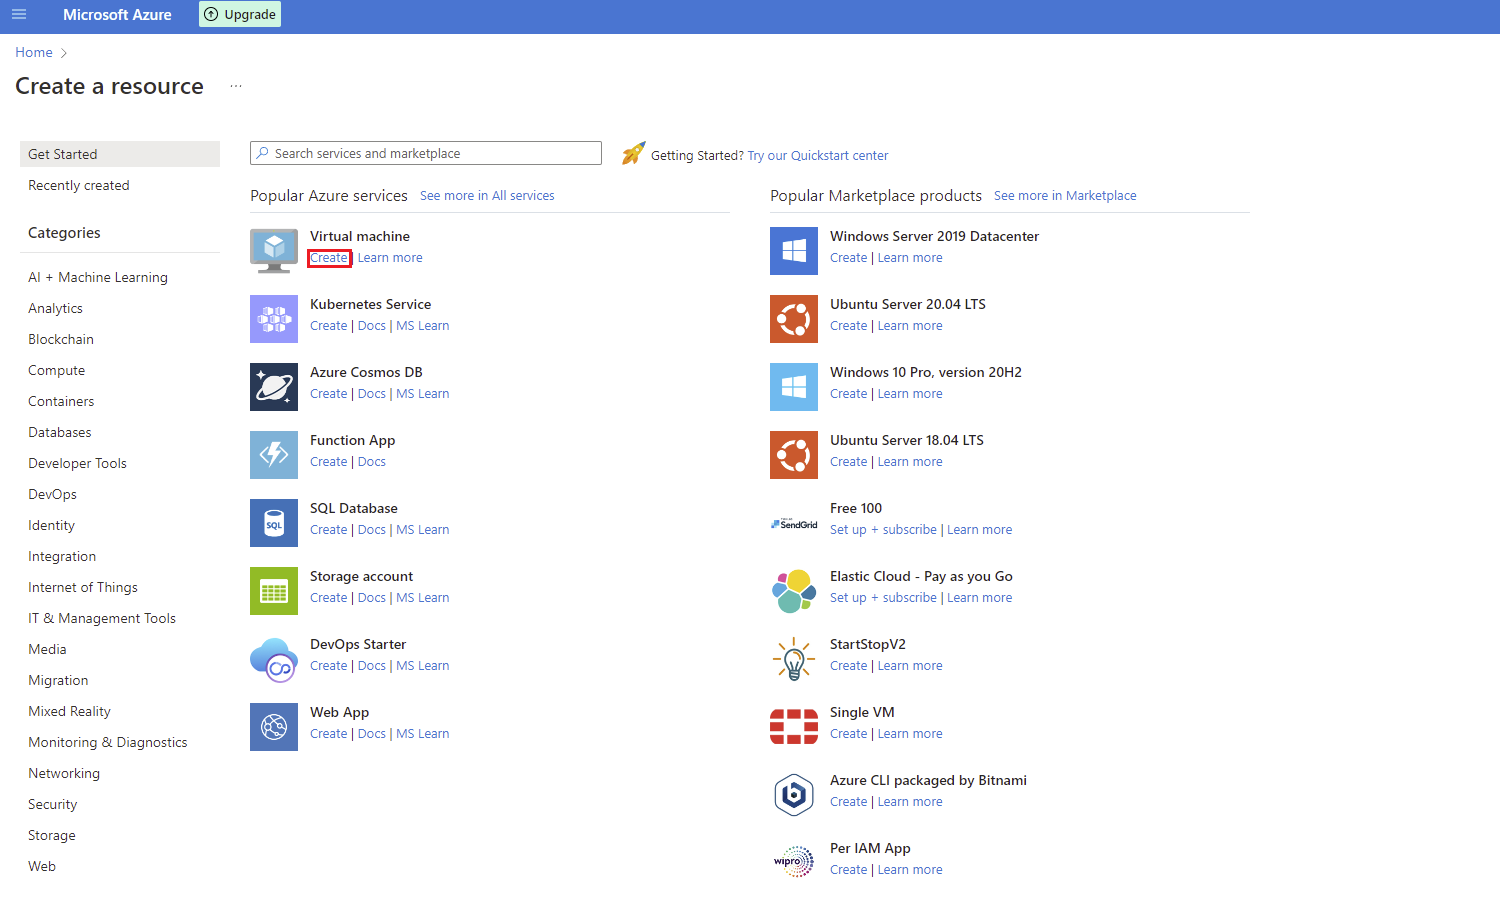
1. Once inside the Azure portal click create a resource and search for virtual machines service and click to start creating the resource
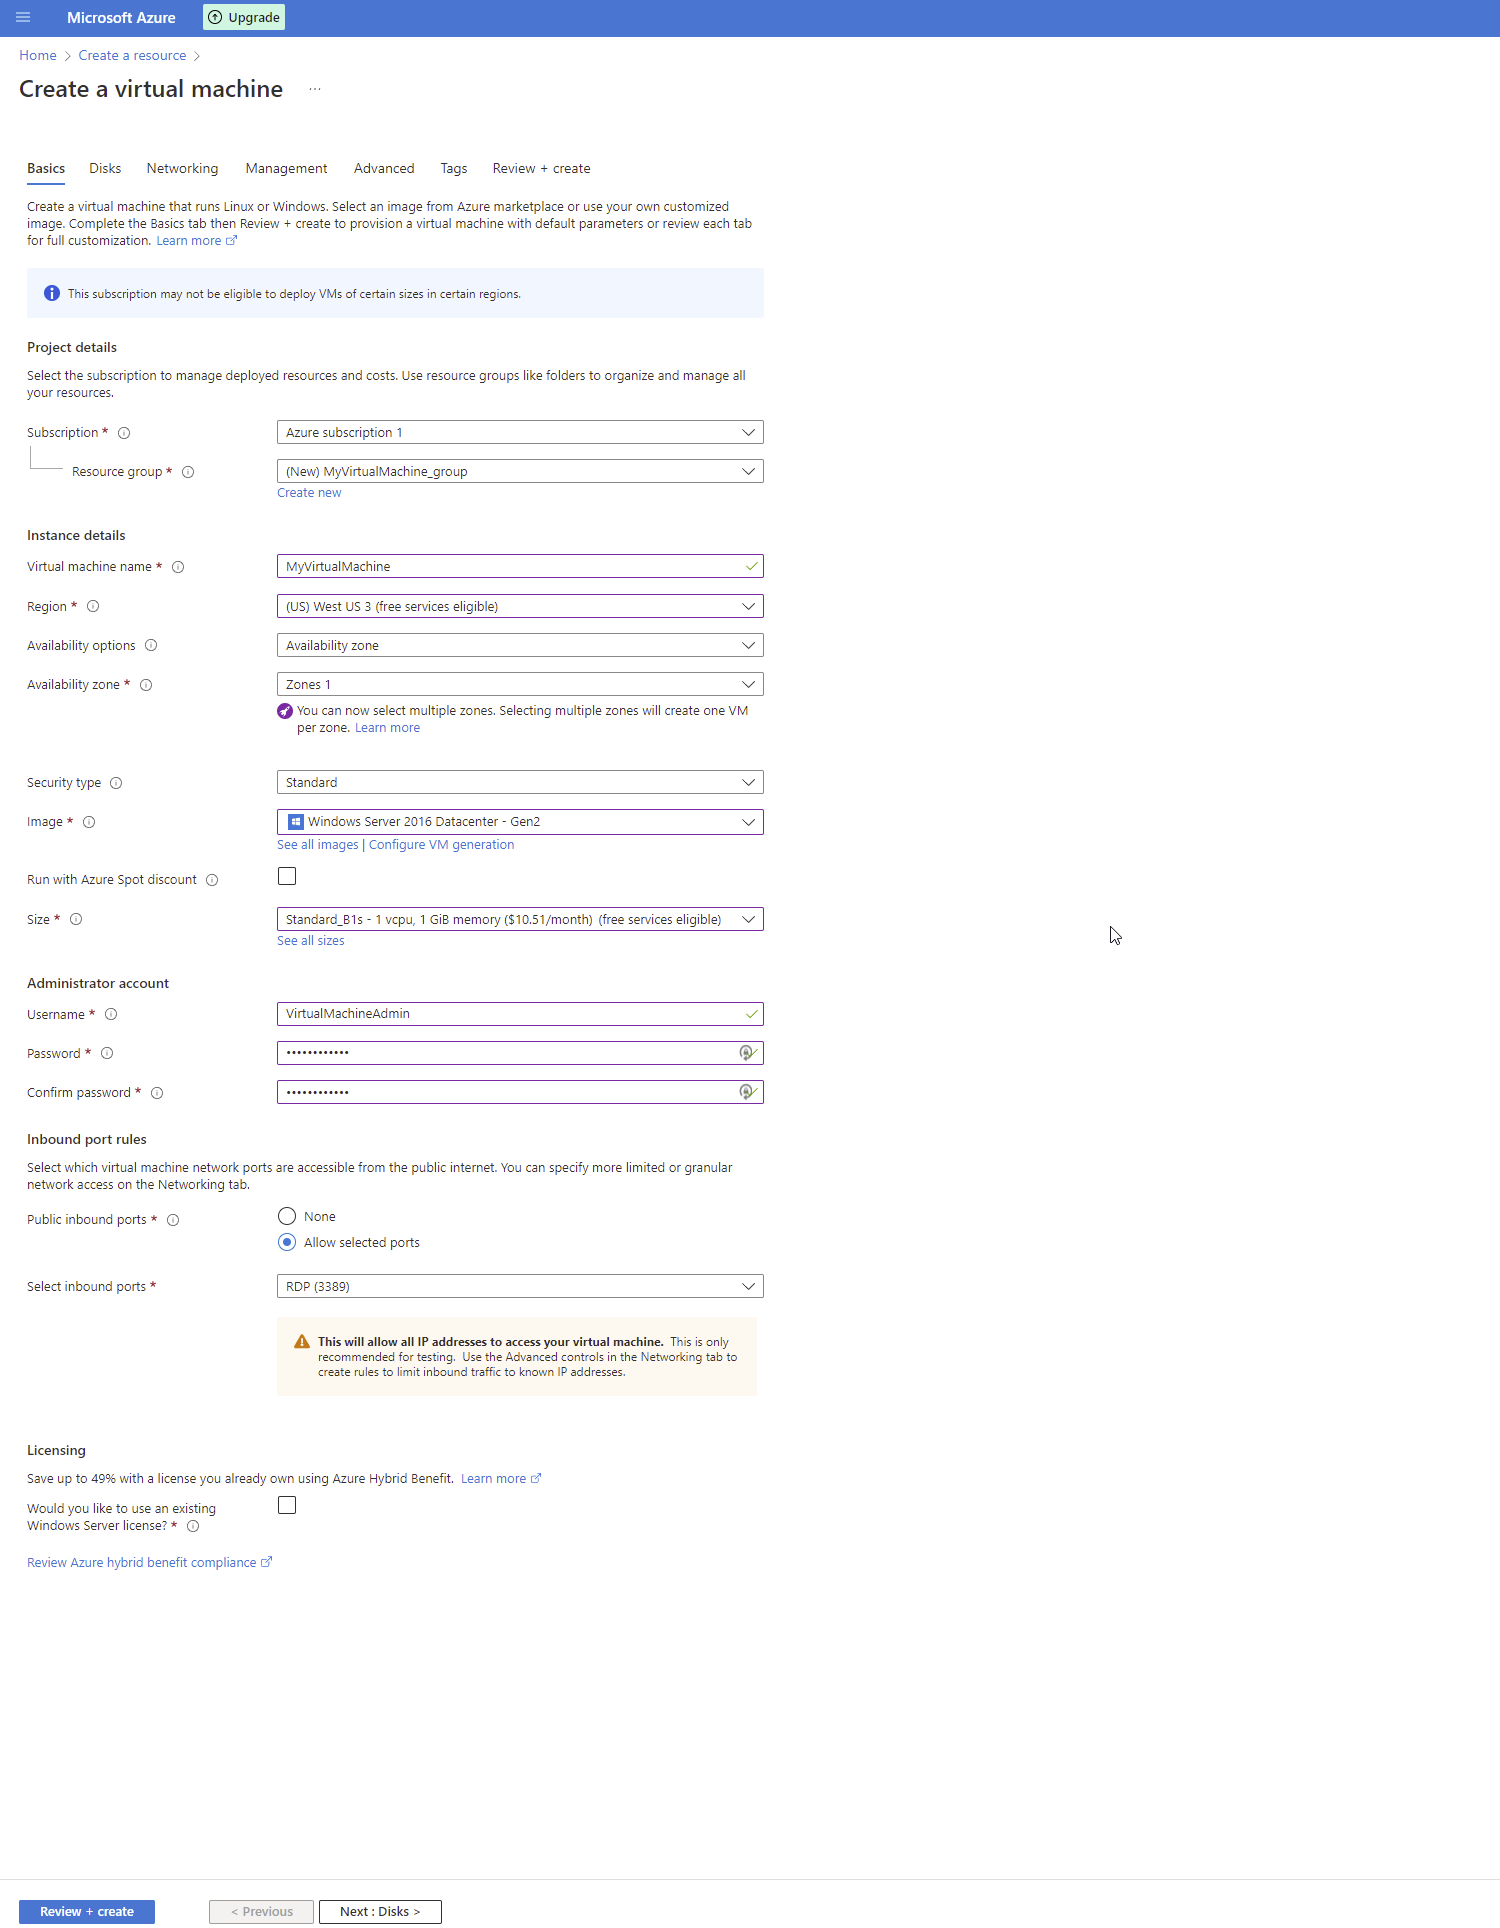
2. The first thing to do is to configure all of the necessary basics involved in creating a virtual machine resource. This starts with building the instance, creating an administrator account, and enabling port rules to determine how the virtual machine can be accessed by the administrator. After filling out the required form on the basics you are able to create the resource but you can continue through the steps if you have need to dive in deeper to specific areas from the basics page by navigating through the tabs at the top. You can jump to step 7 if you do not need any advanced settings for your virtual machine.
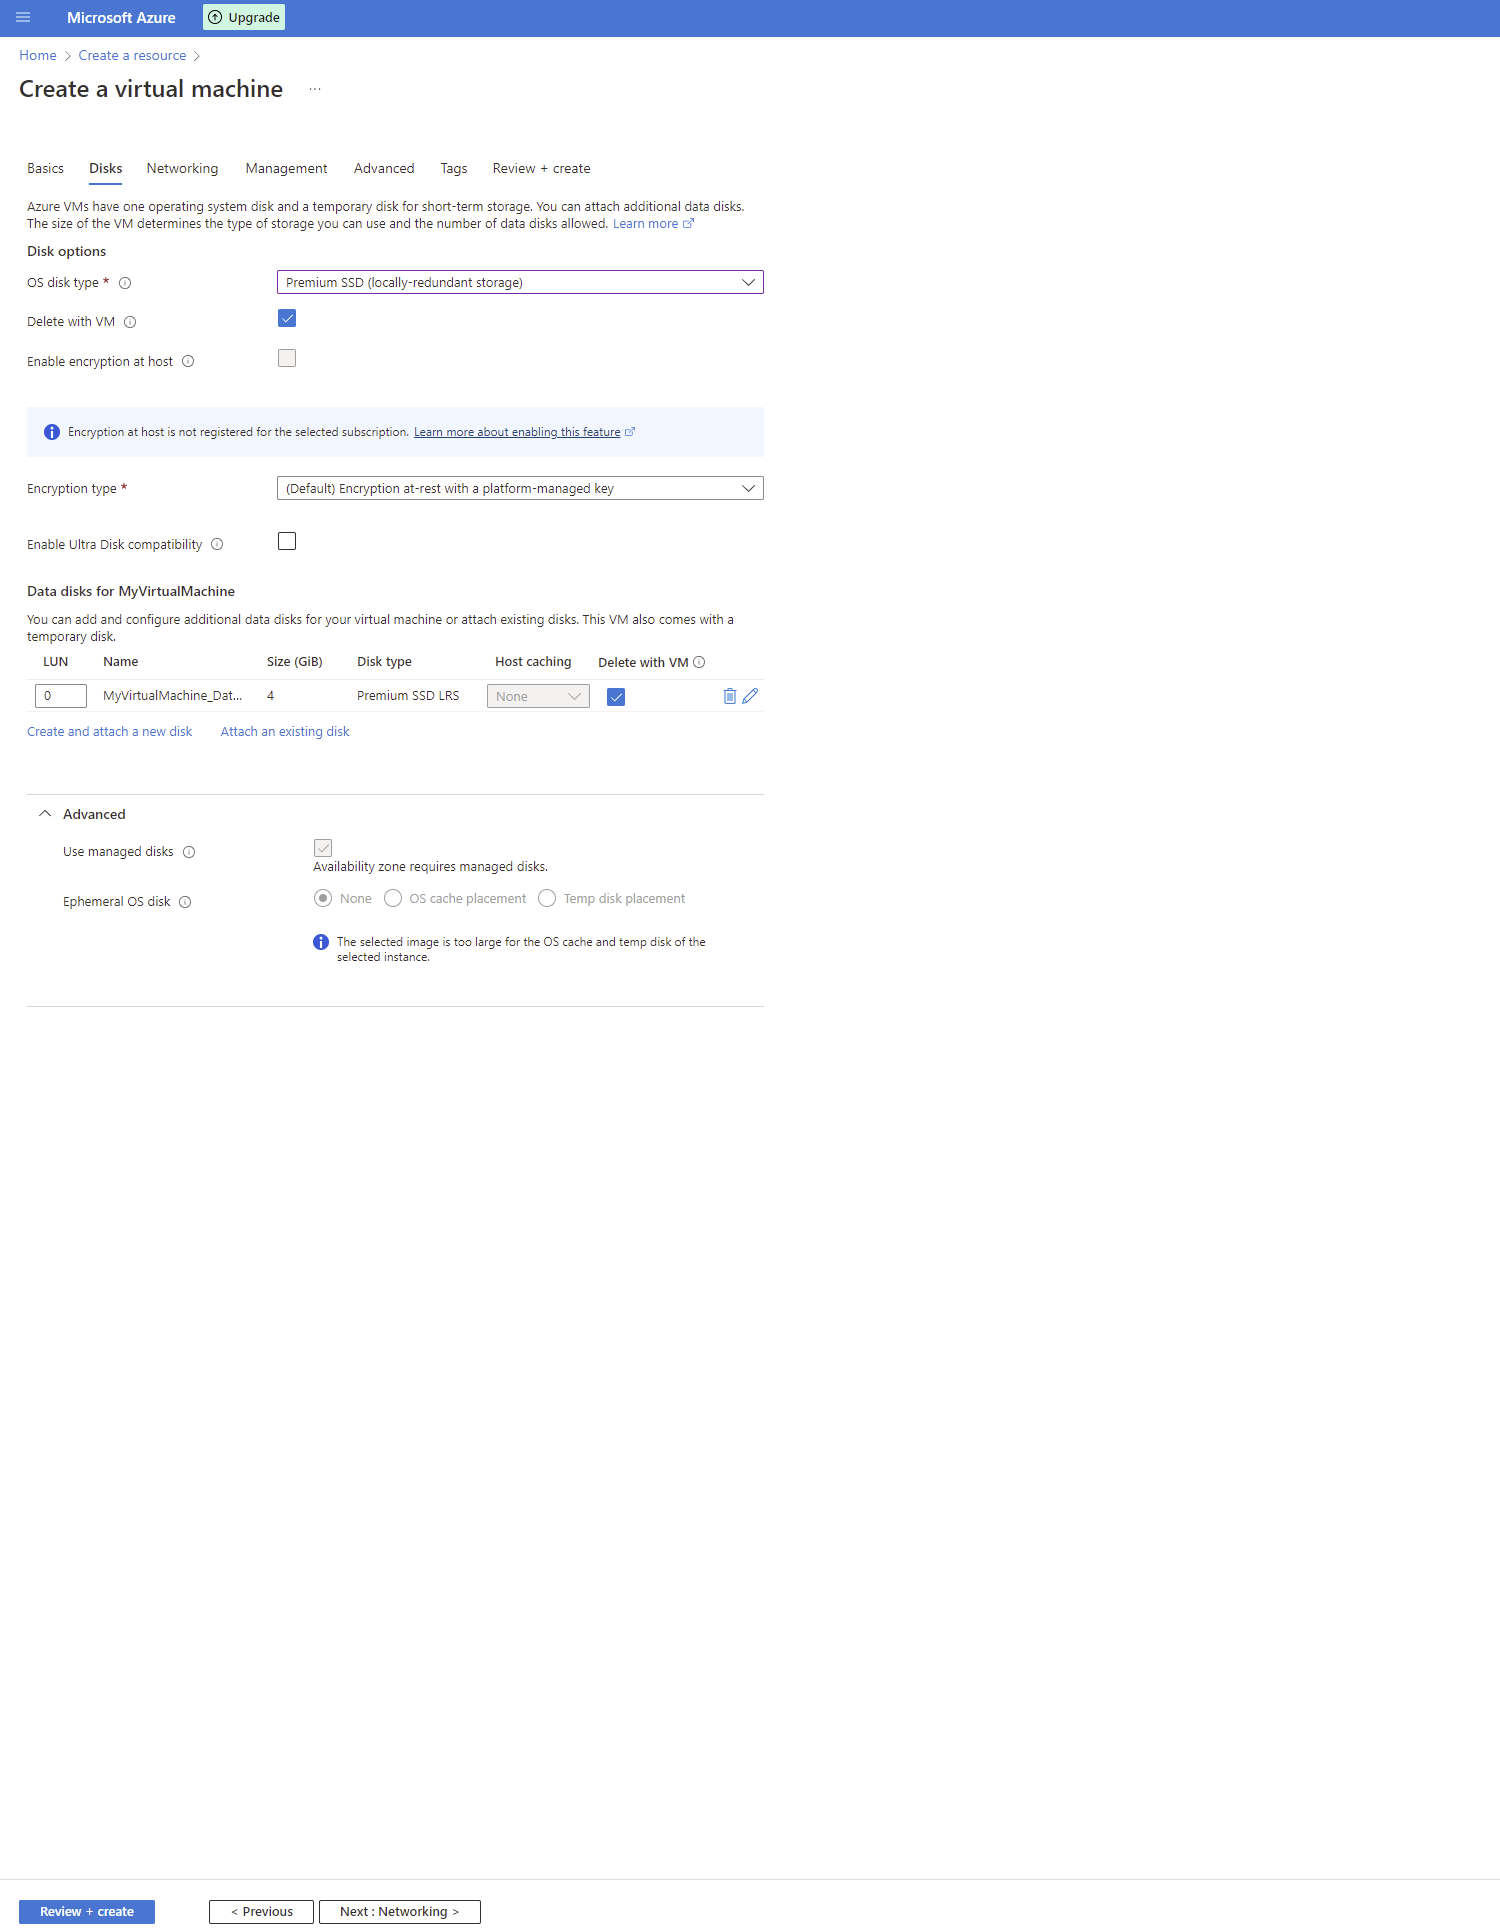
3. After configuring the basics you can move on to the disks tab. Azure VMs do come with a temporary disk for short-term storage but you'll likely want to add additional data disks or use existing disks for your virtual machine.
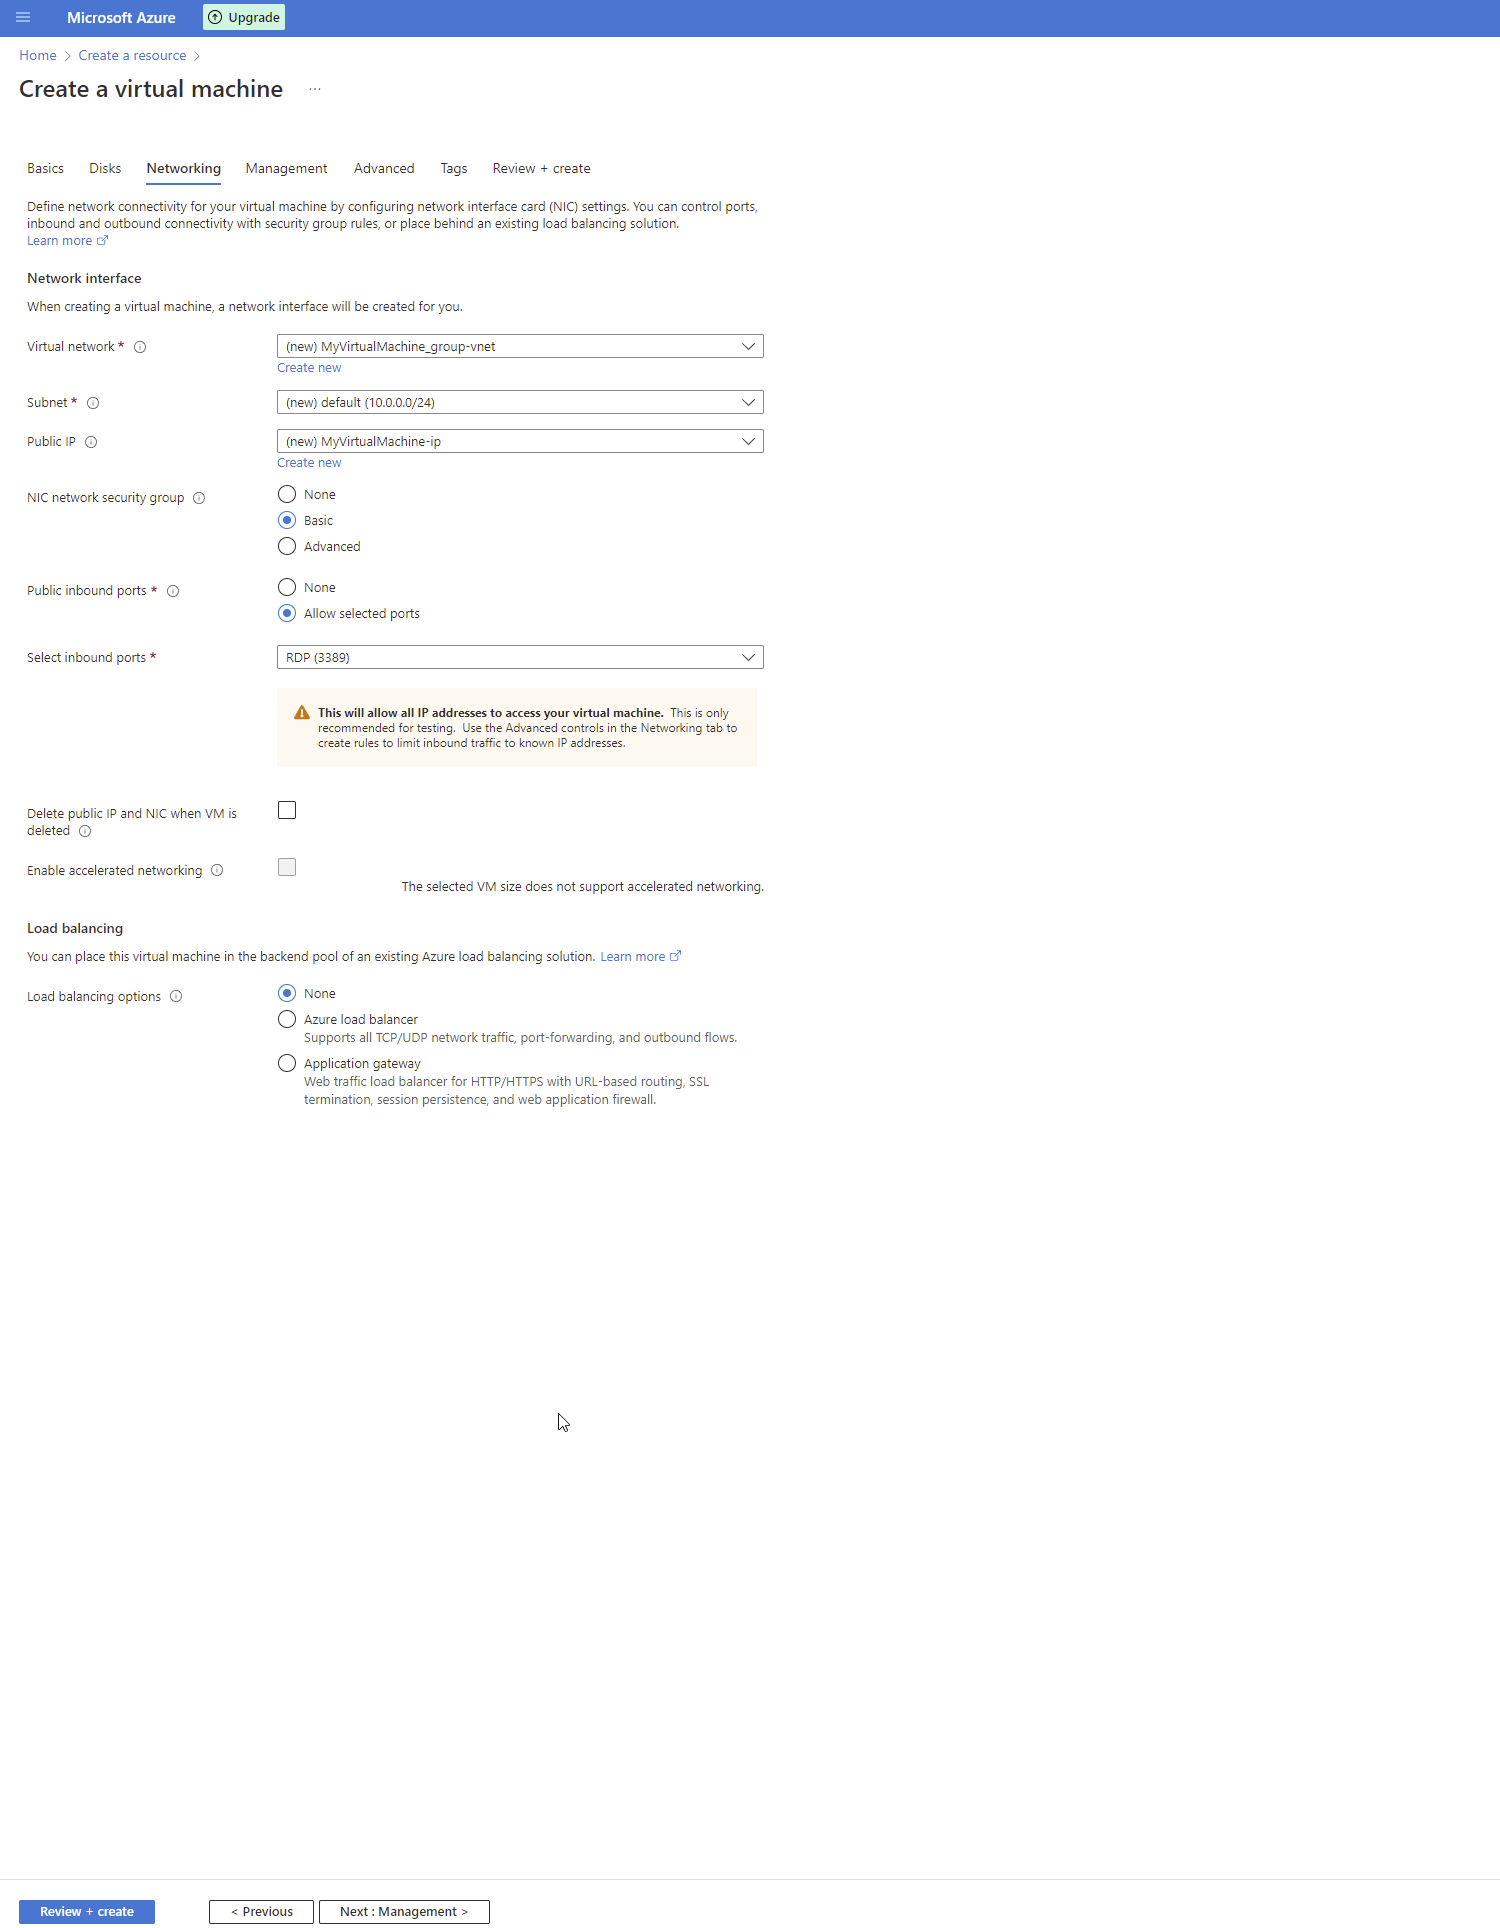
4. After configuring the disks you can move on to the networking tab. This allows you to revisit the inbound ports you allowed from the basics section as well as setting the subnet/ip, and enable load balancing.
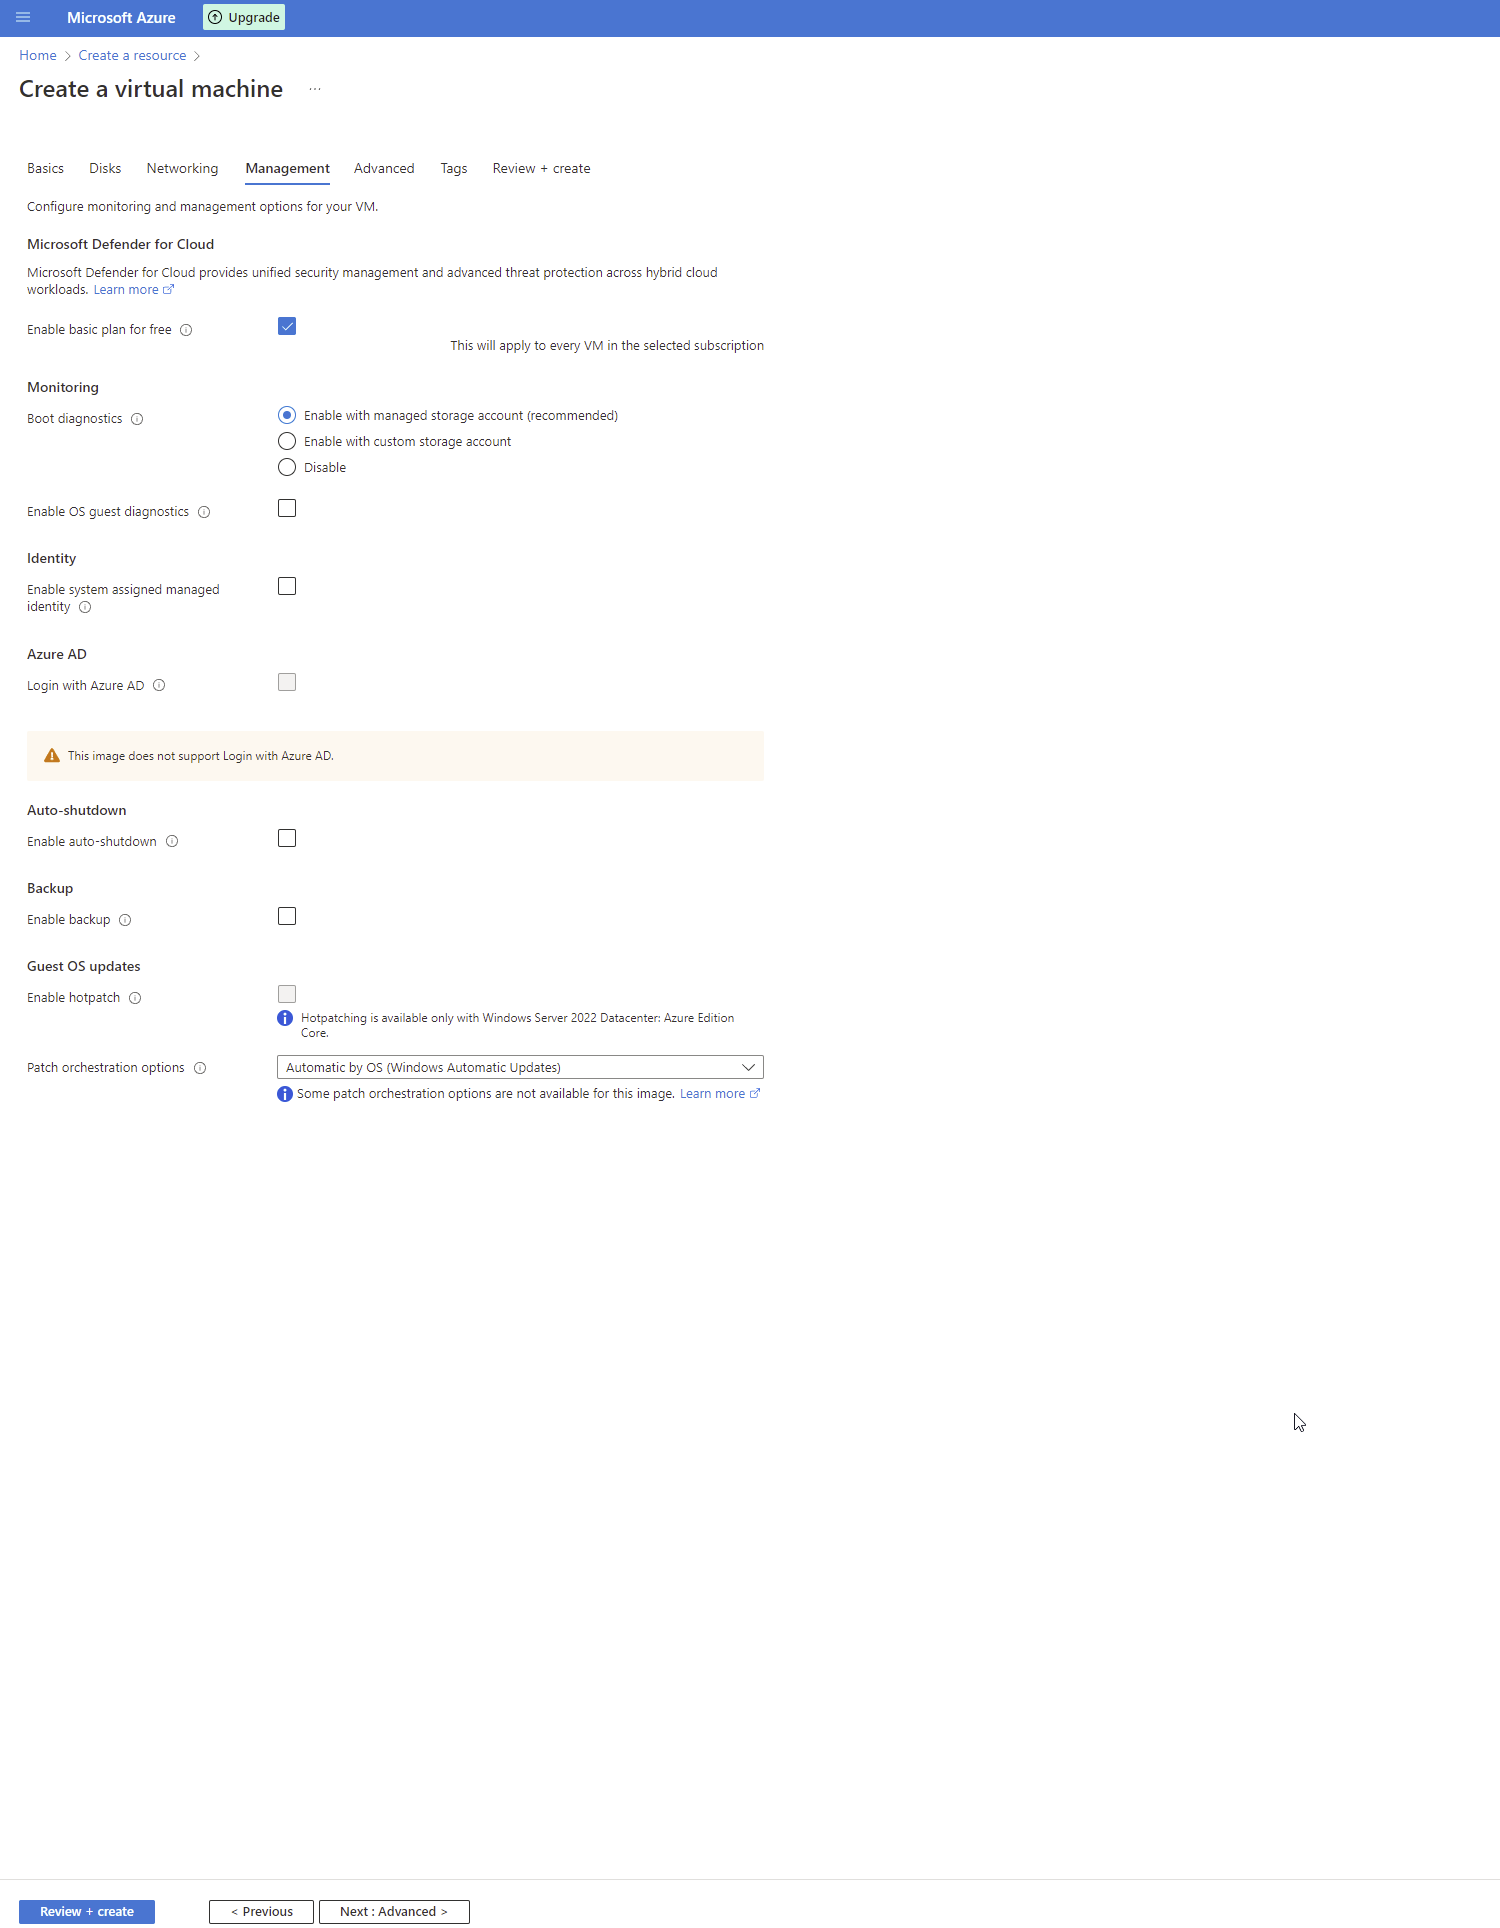
5. After configuring the networking you can move on to the management tab. This allows you to set up monitoring, identity, and some policies for backup and updating the virtual machine.
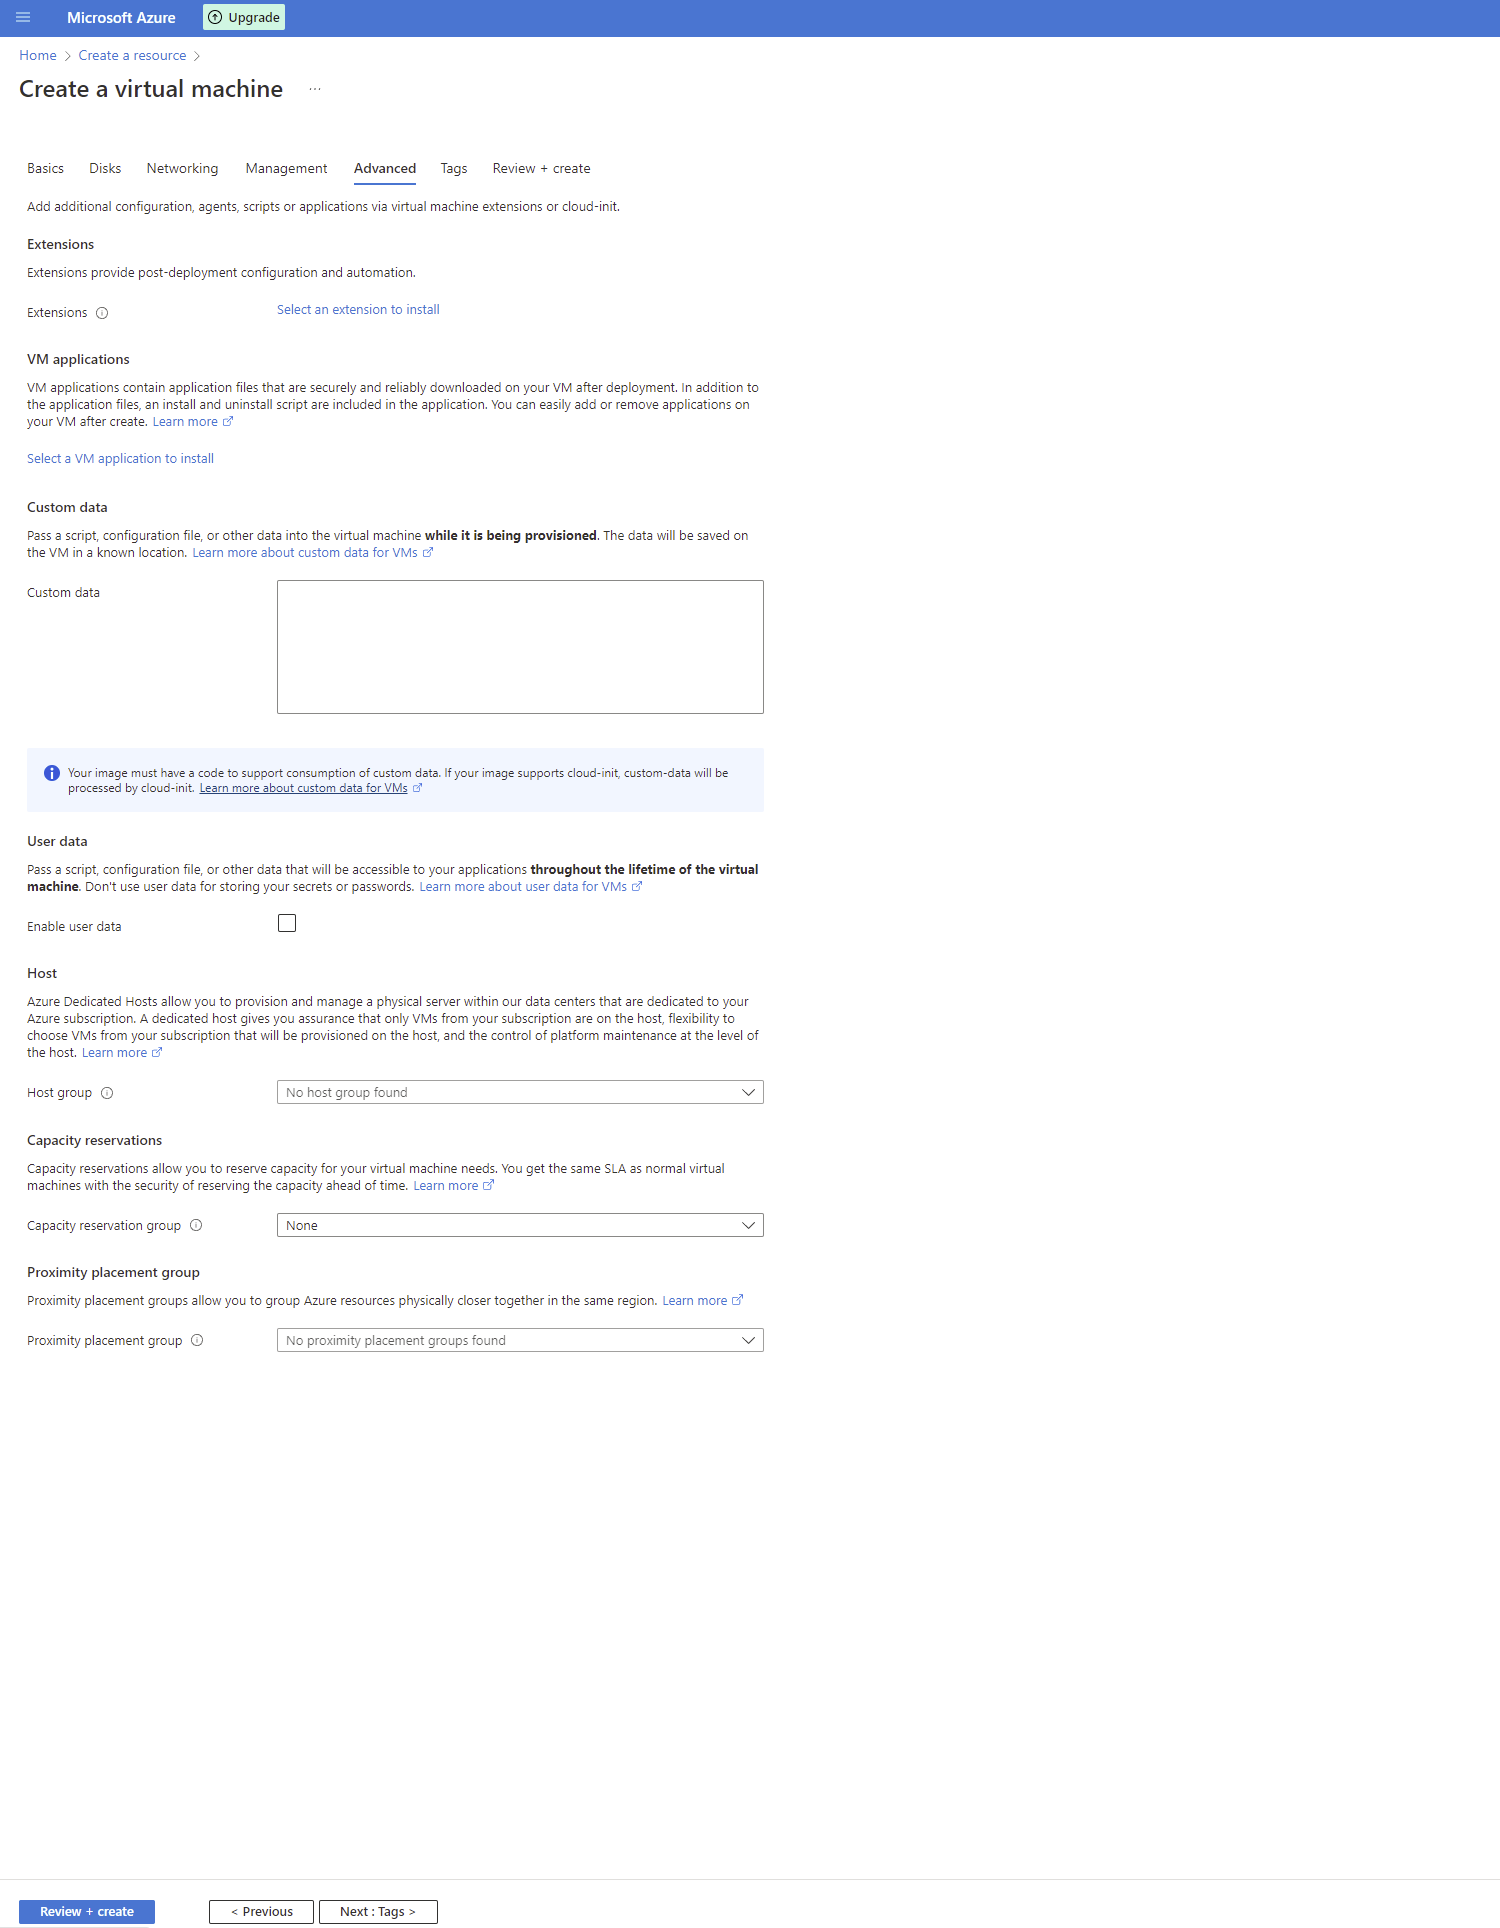
6. After configuring the management you can move on to the advanced tab. This allows you to set up more advanced features such as extensions and applications that will be installed.
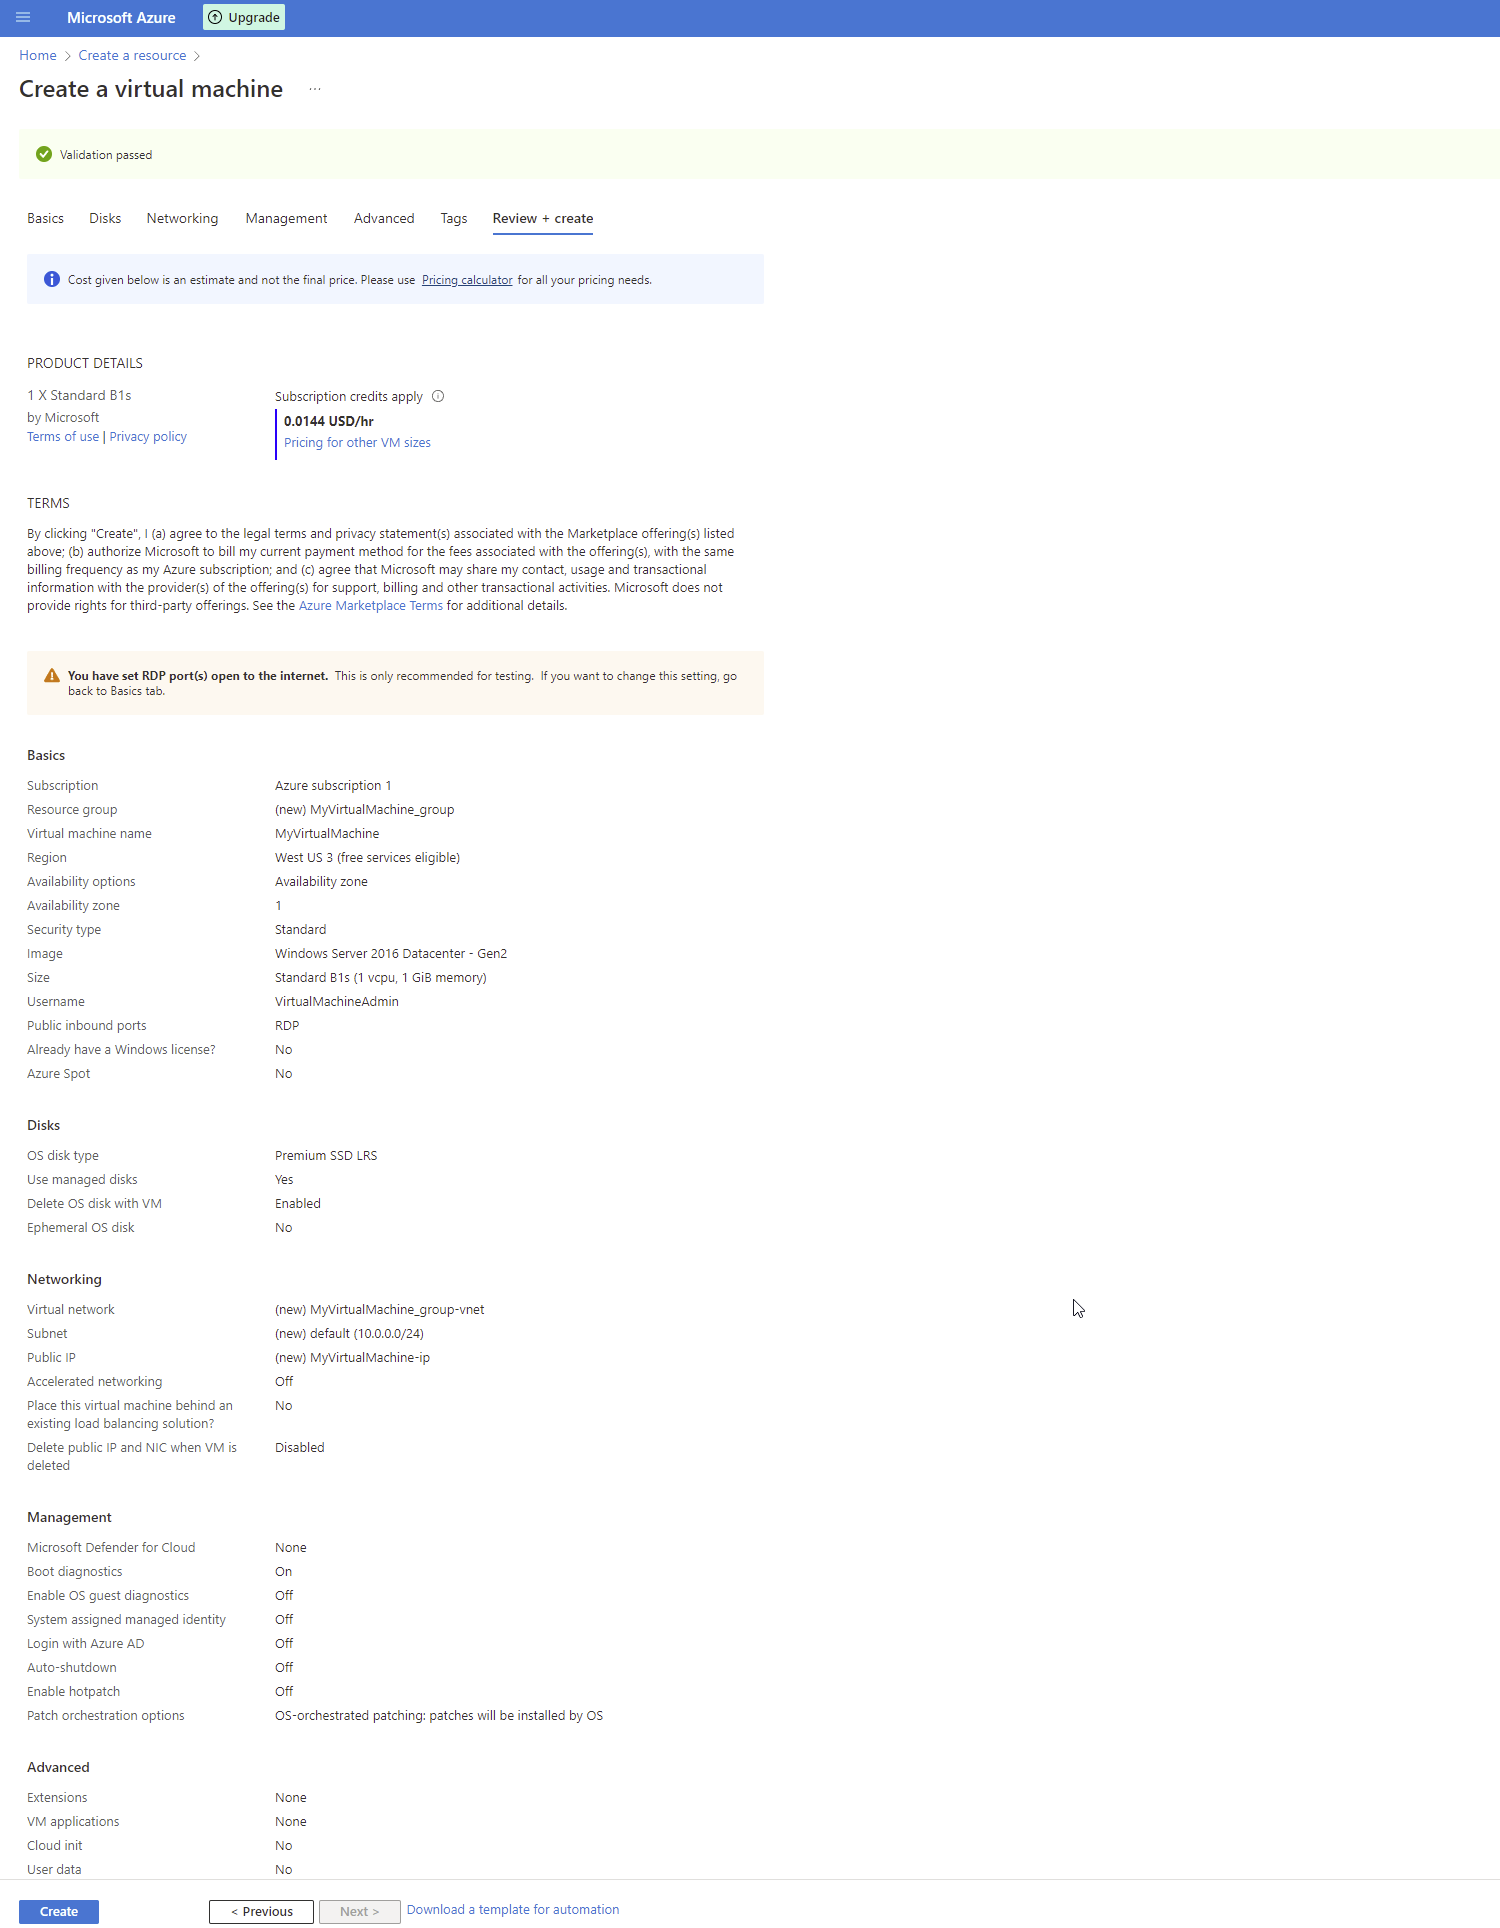
7. Once you are finished with the advanced configuration settings you can go to the review + create tab to verify that the virtual machine that is going to be created is what you are expecting. If you are satisfied with your virtual machine you can go ahead and click create.
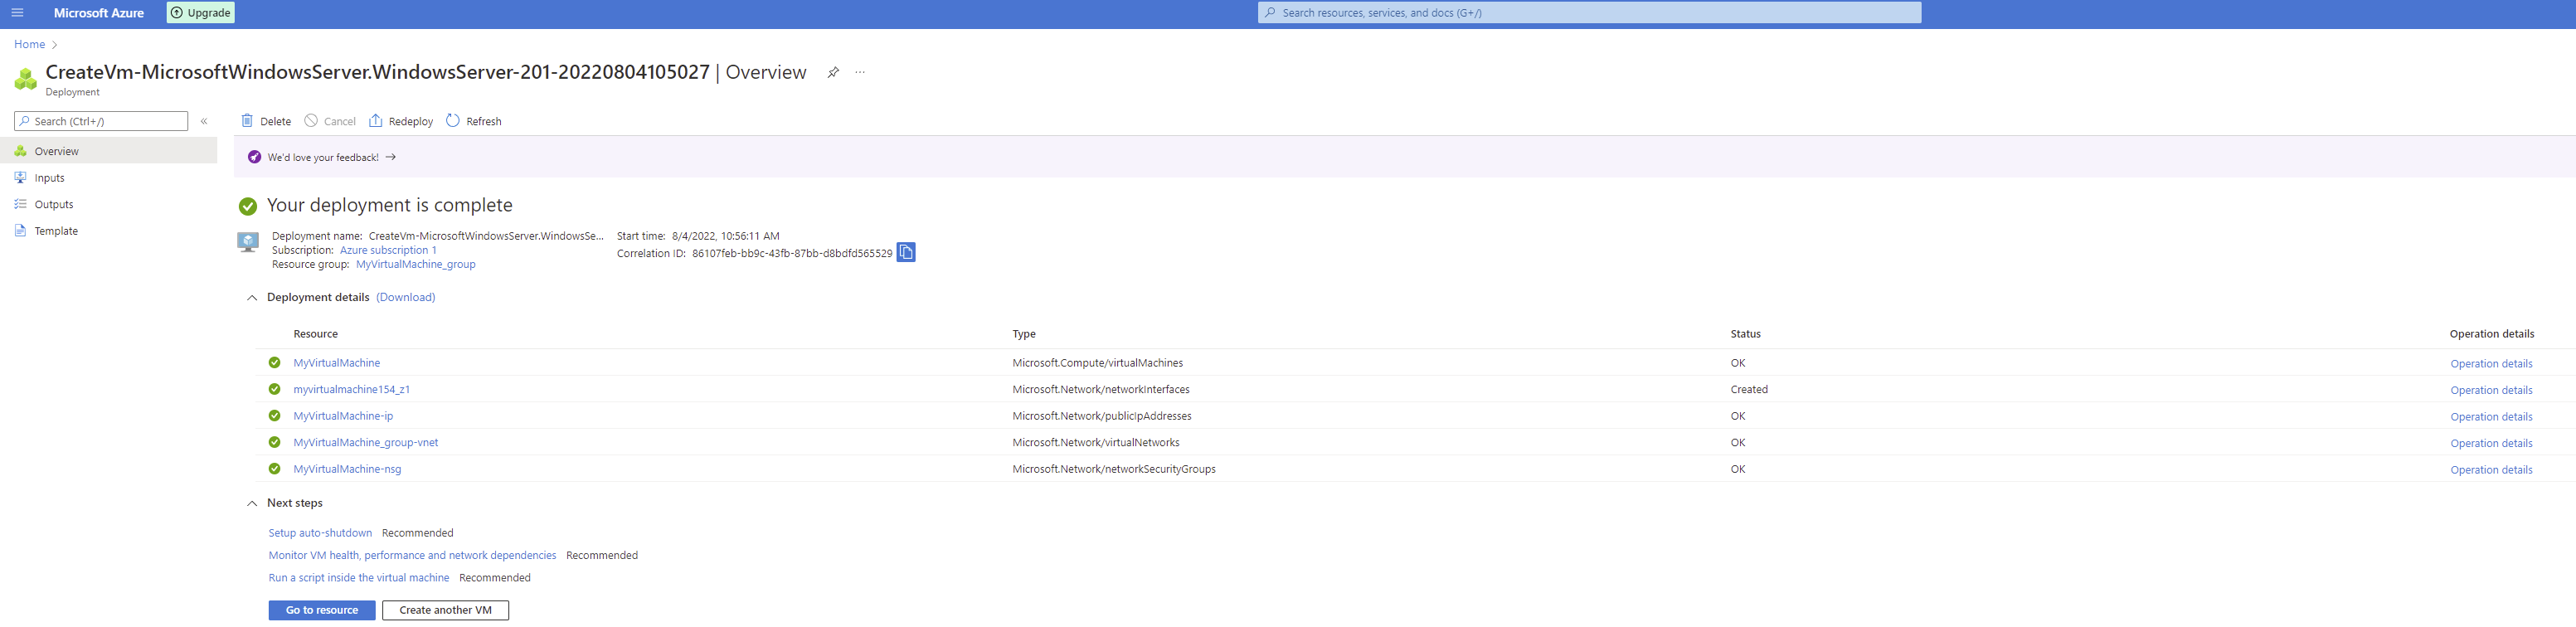
8. After selecting to create the resource Azure will redirect you to an overview page and update you in real-time about all of the resources being created. Once finished you should get a green checkmark by all the resources and you'll have a way to navigate to your new resource.
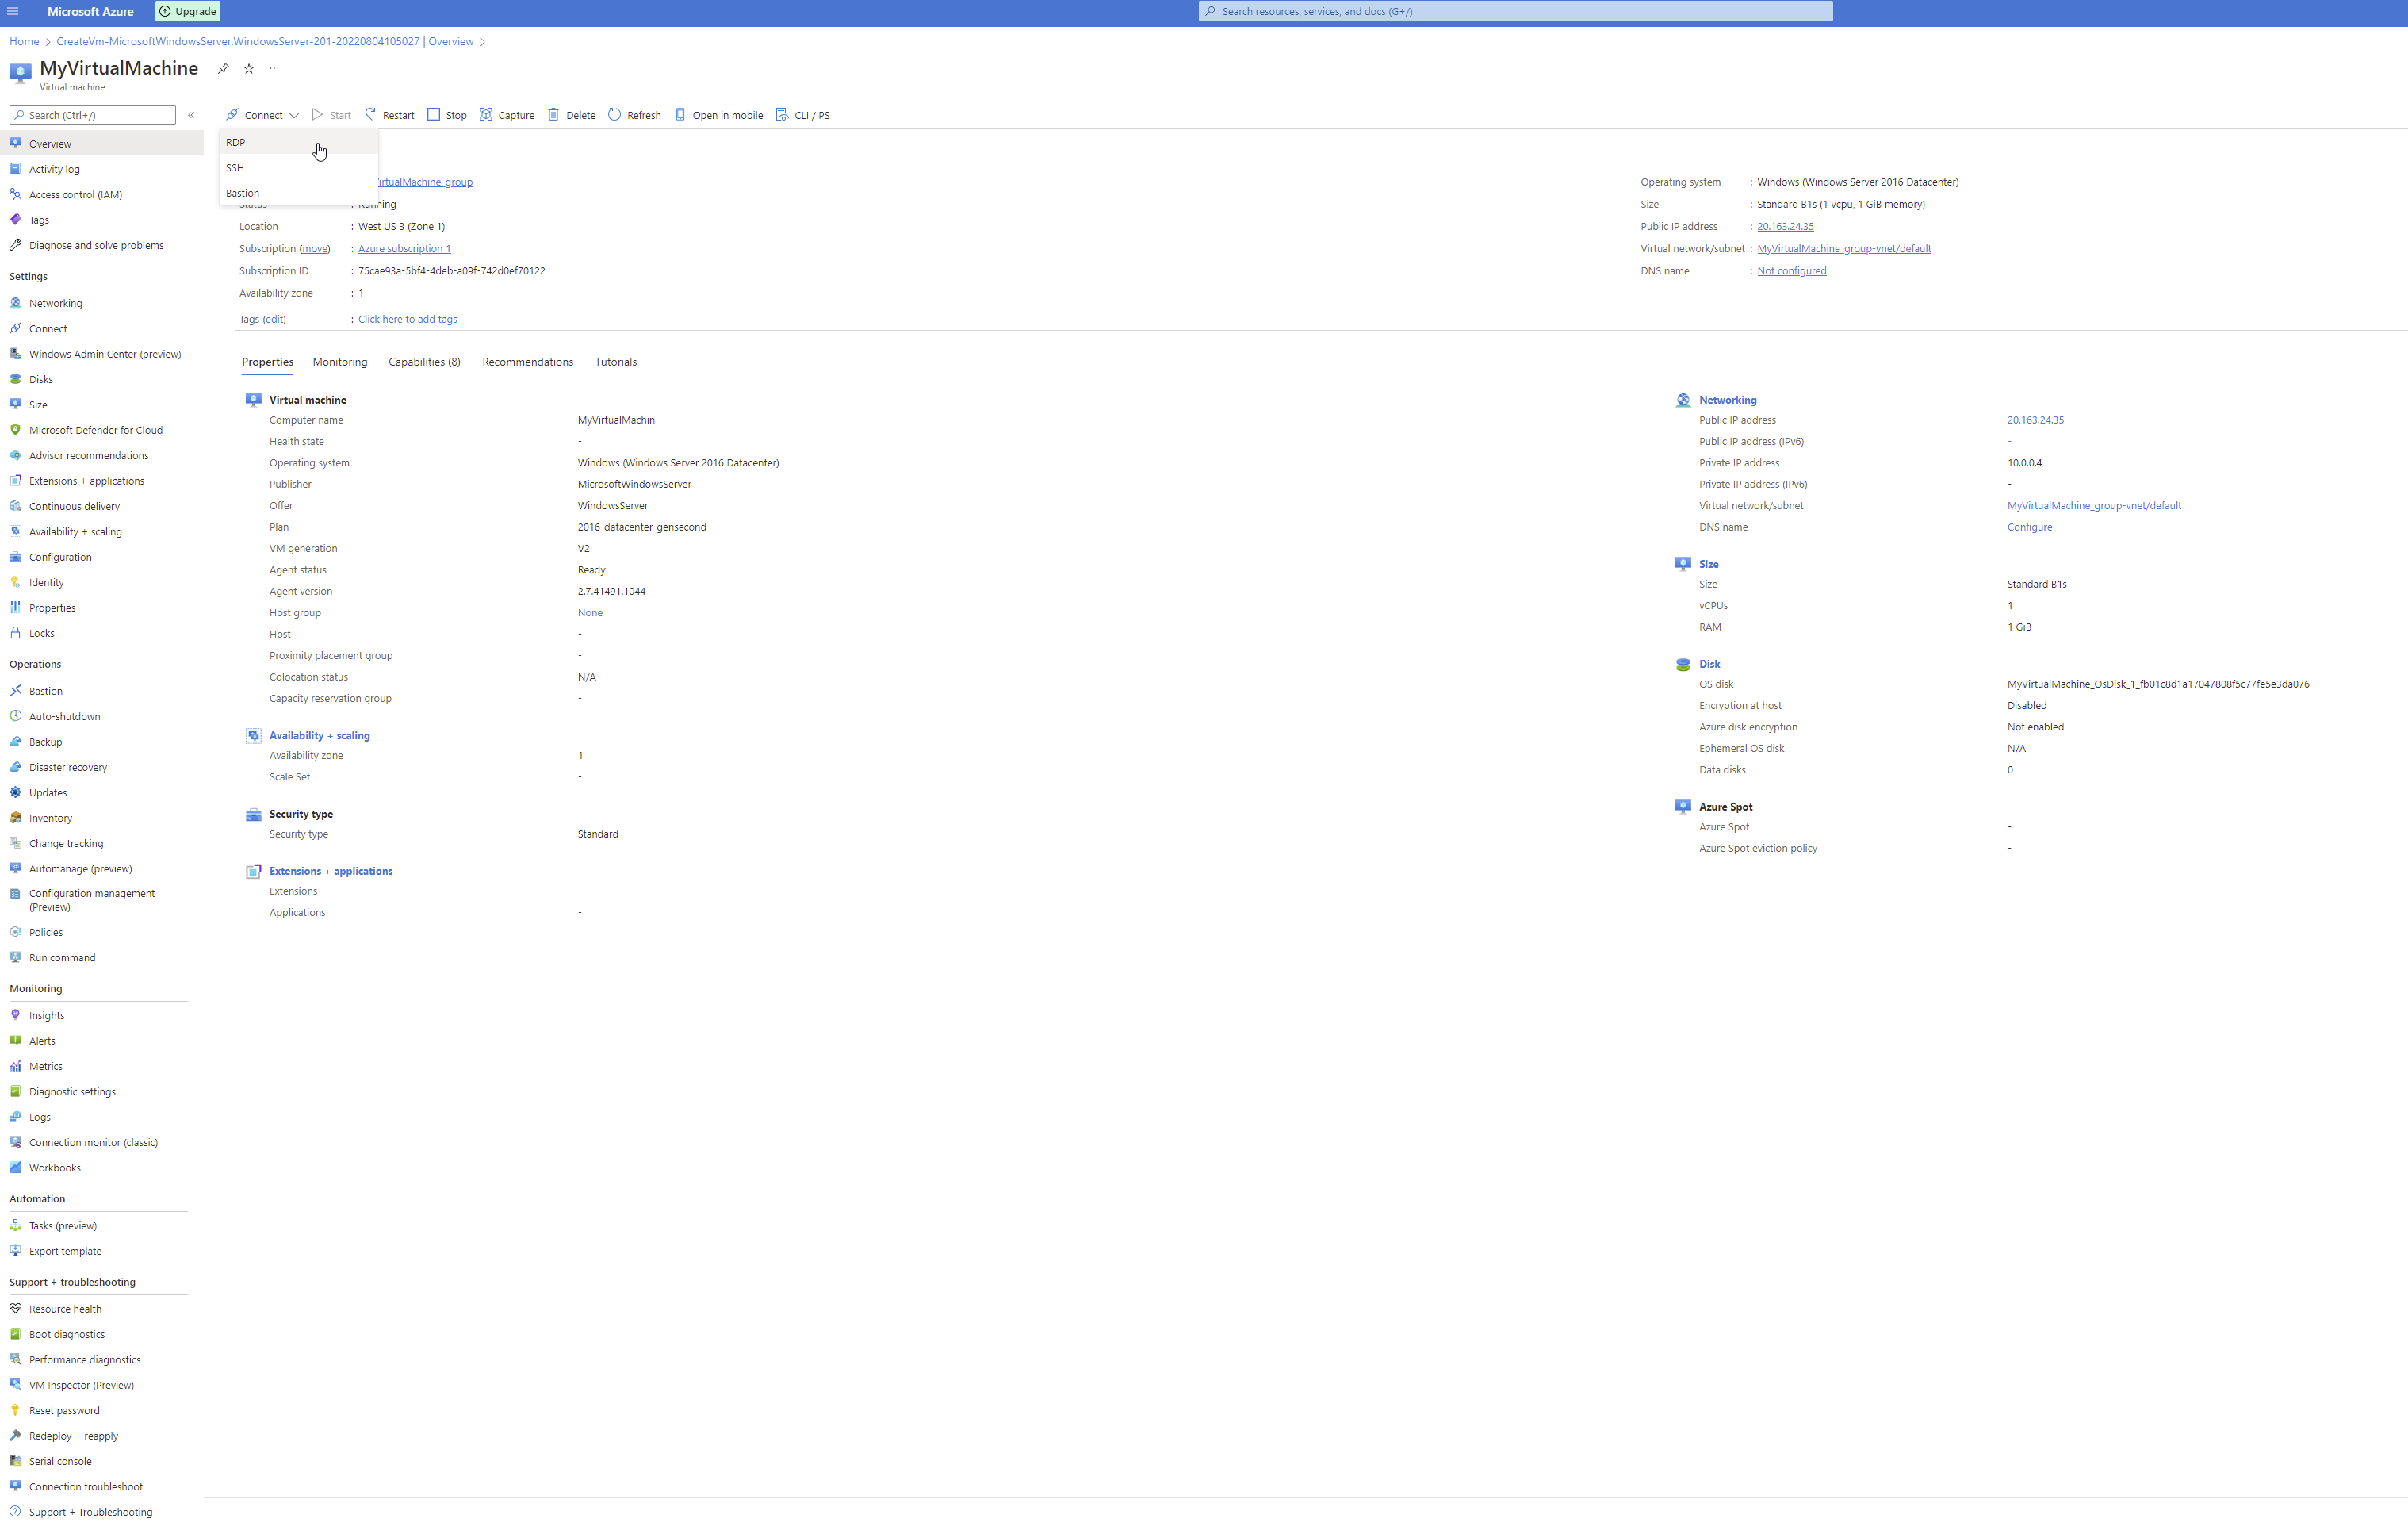
9. This is our new virtual machine hosted in Azure. By clicking connect you can view details necessary to make a connection. I will be attempting to connect with RDP since that is the only inbound port I enabled during resource creation.
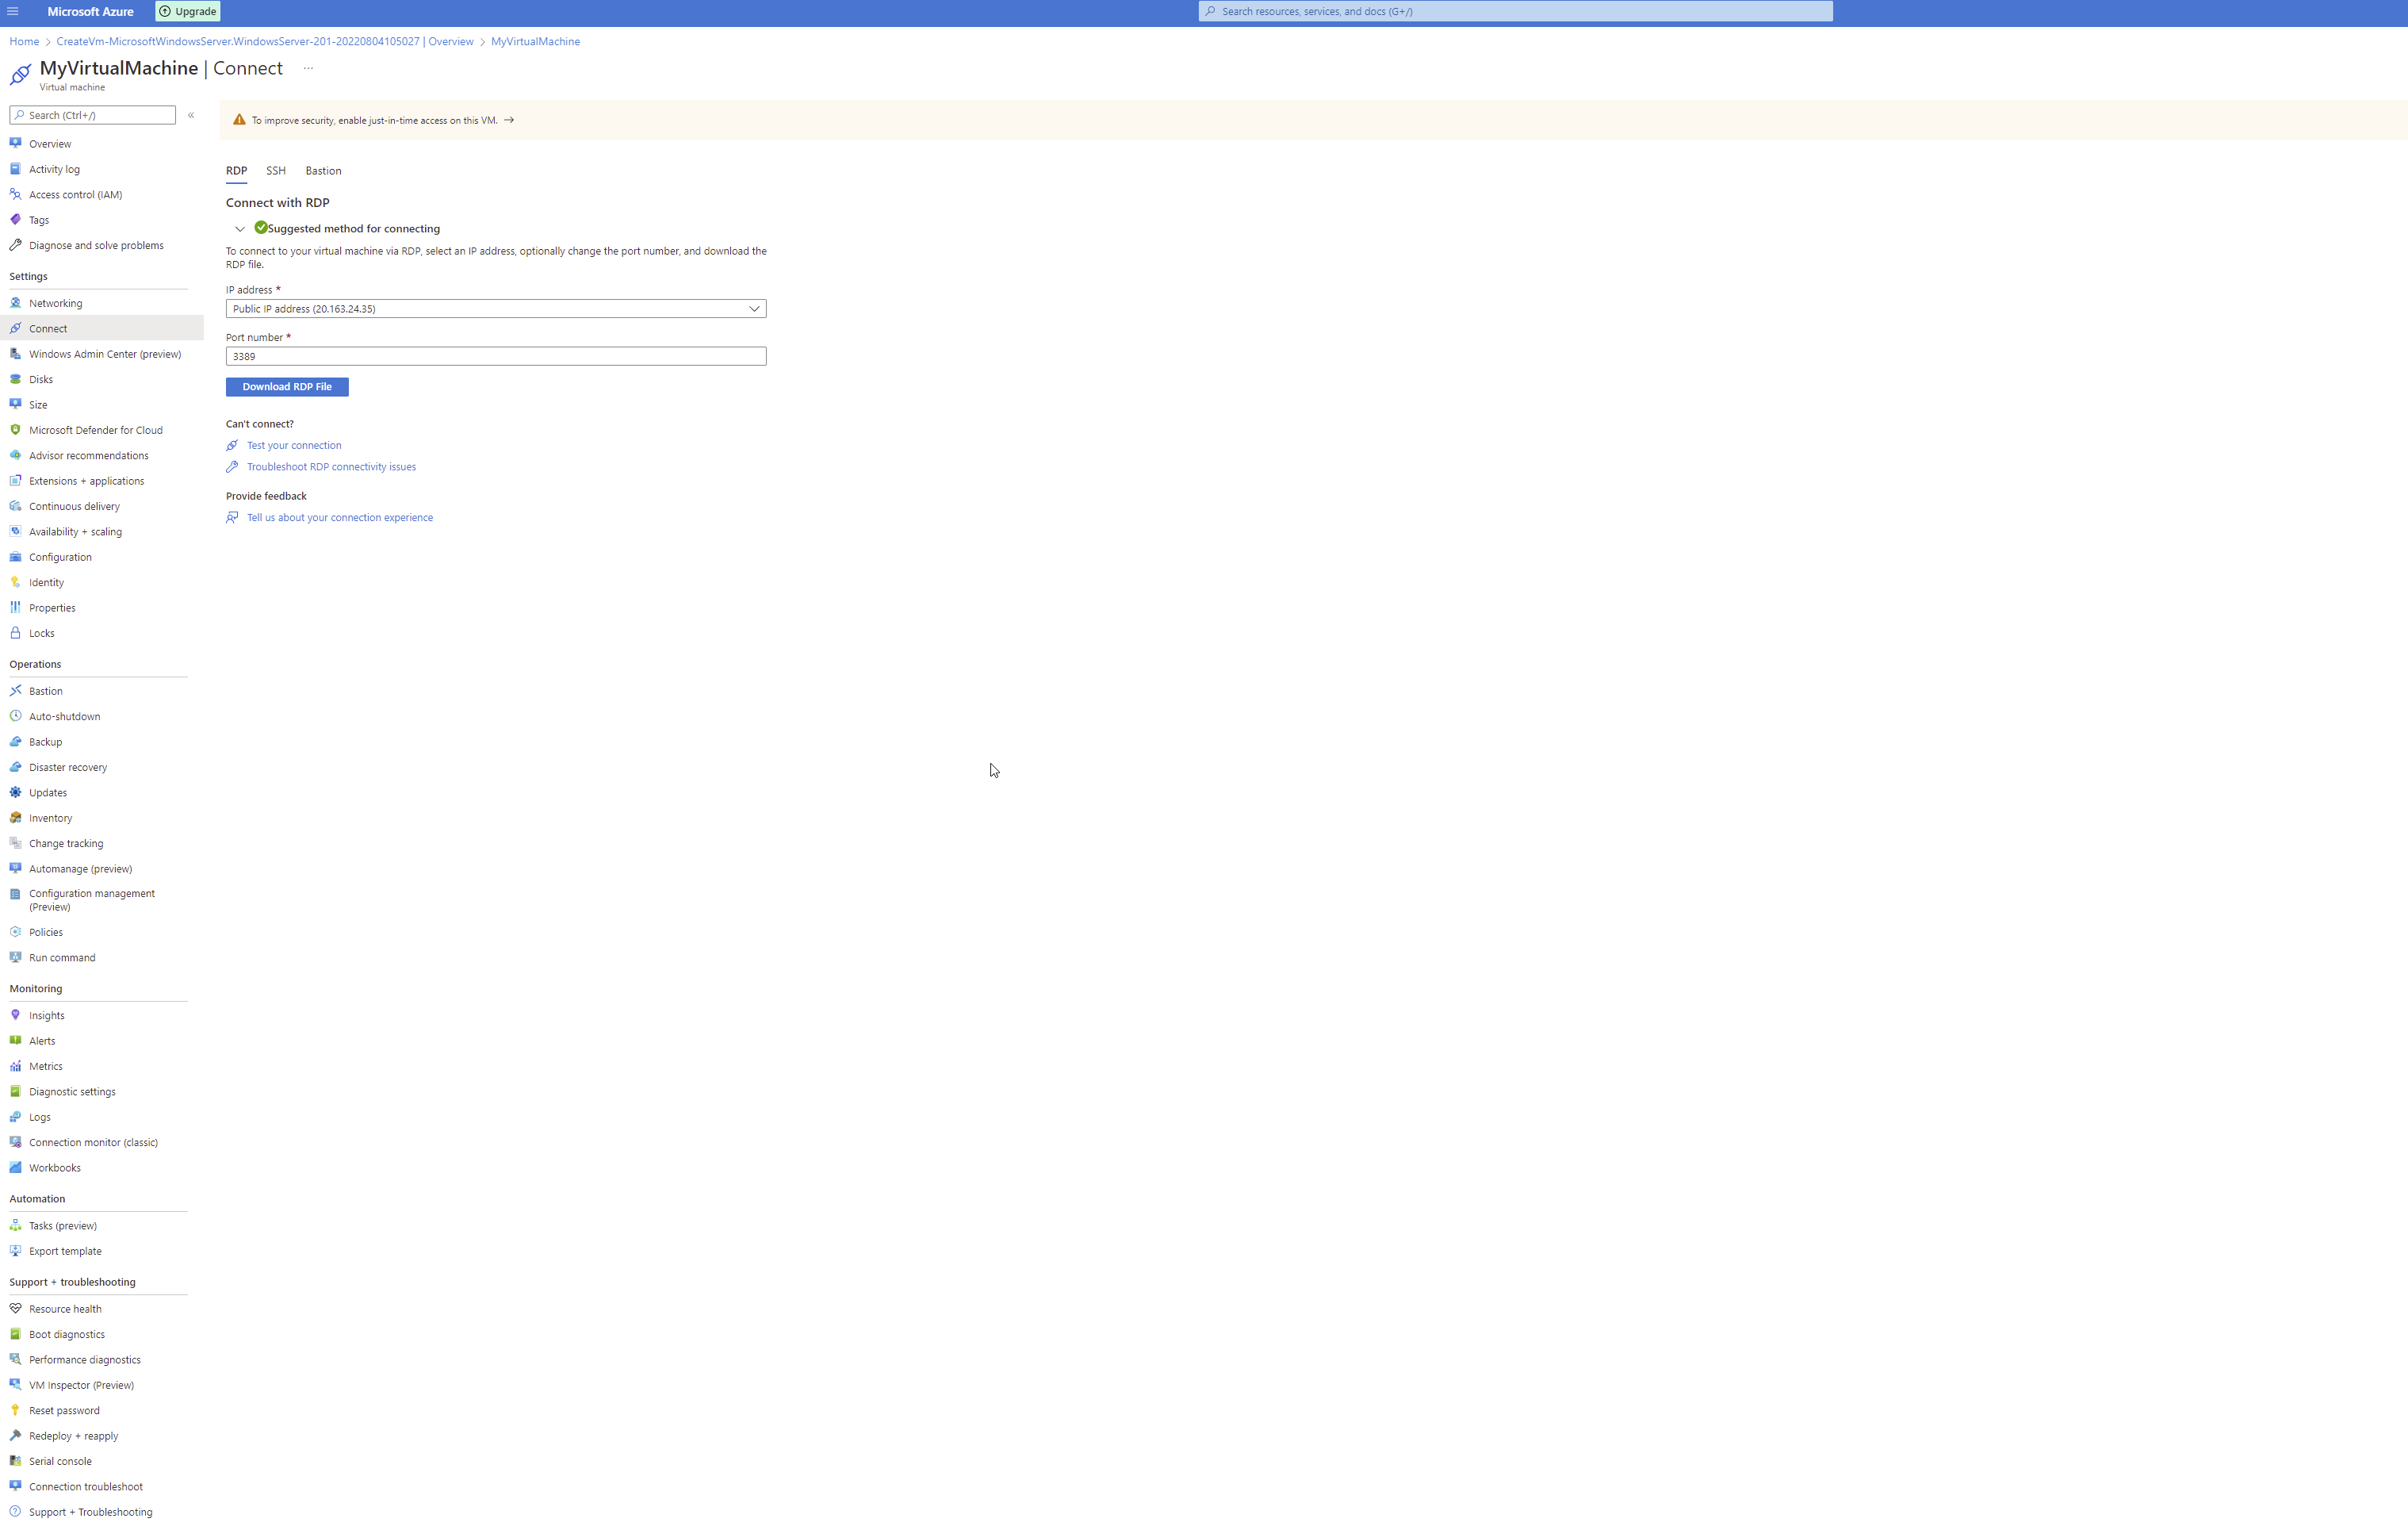
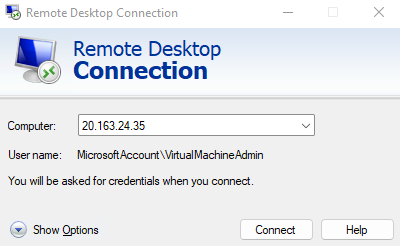
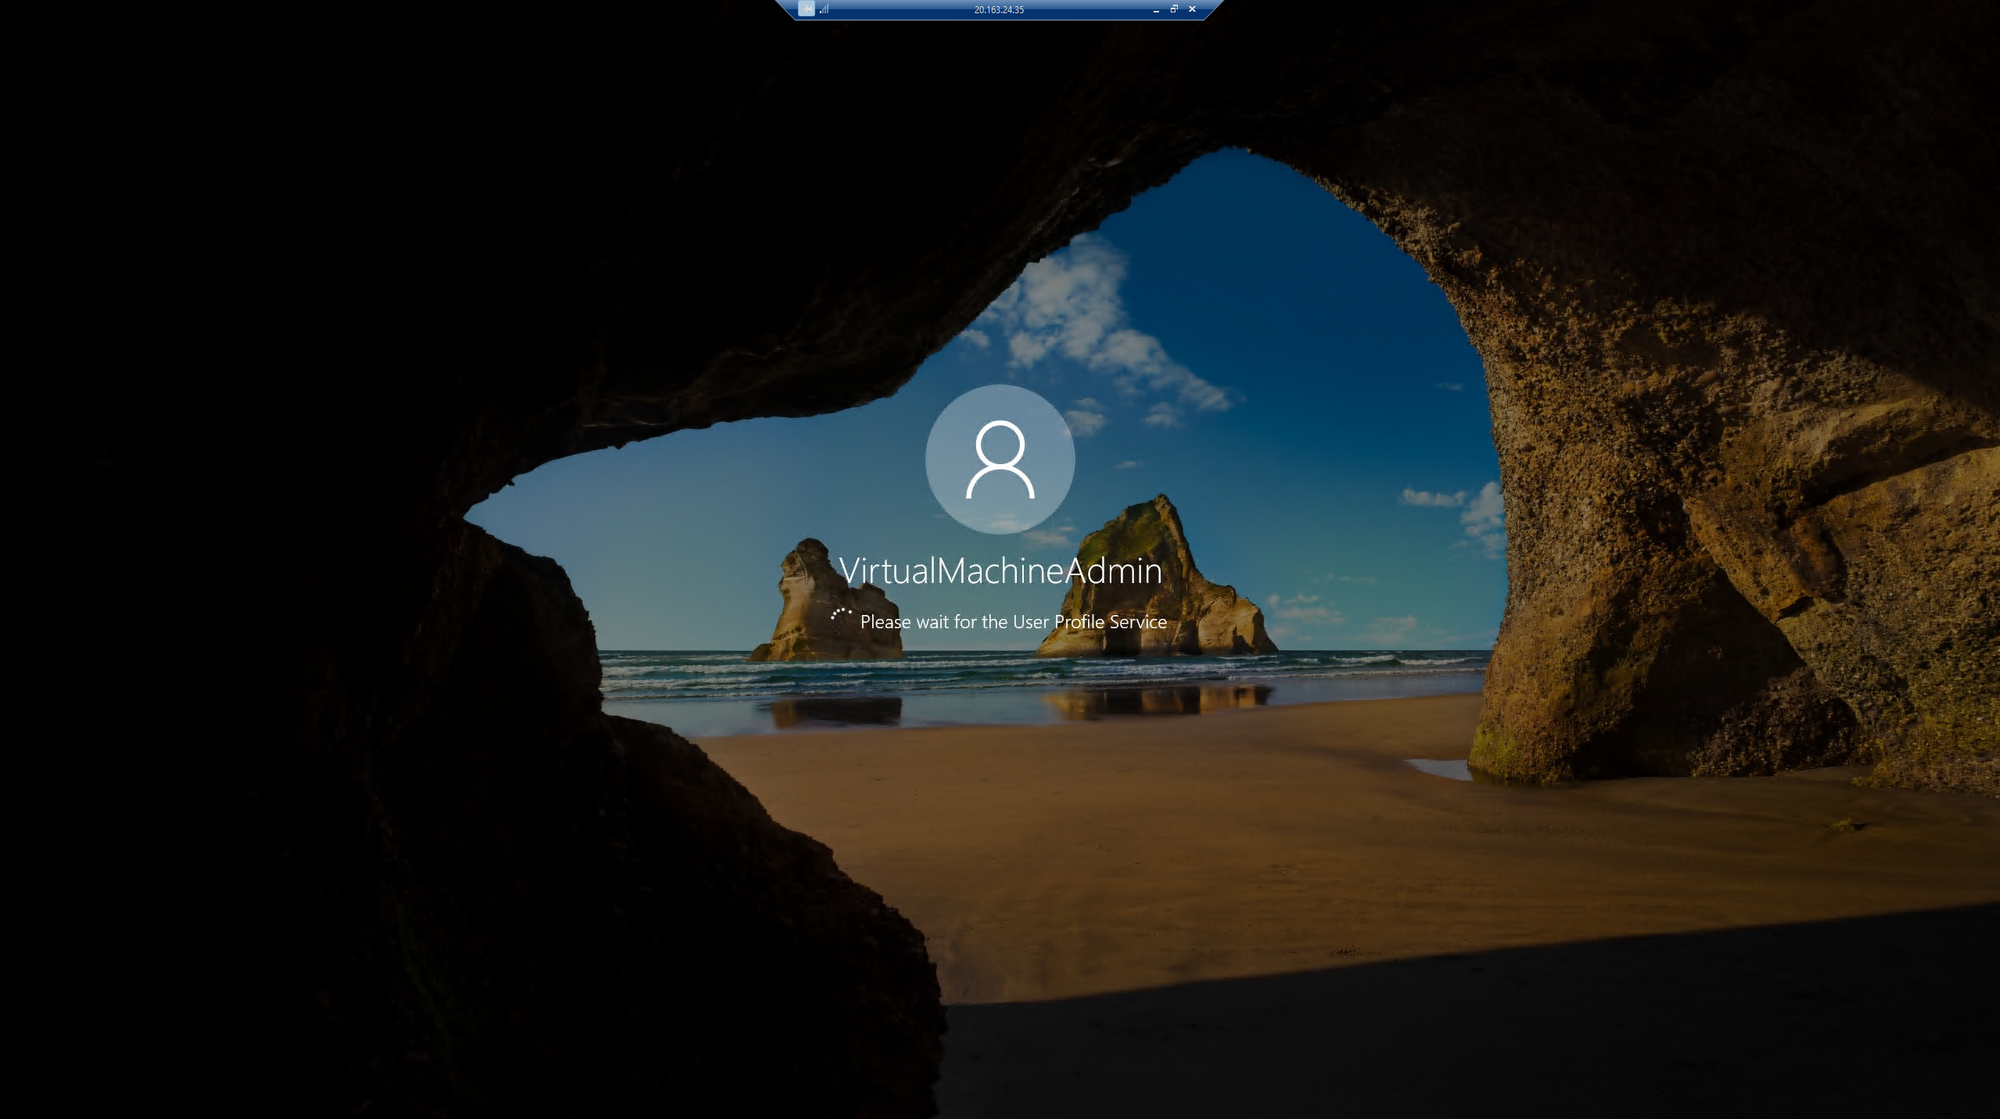
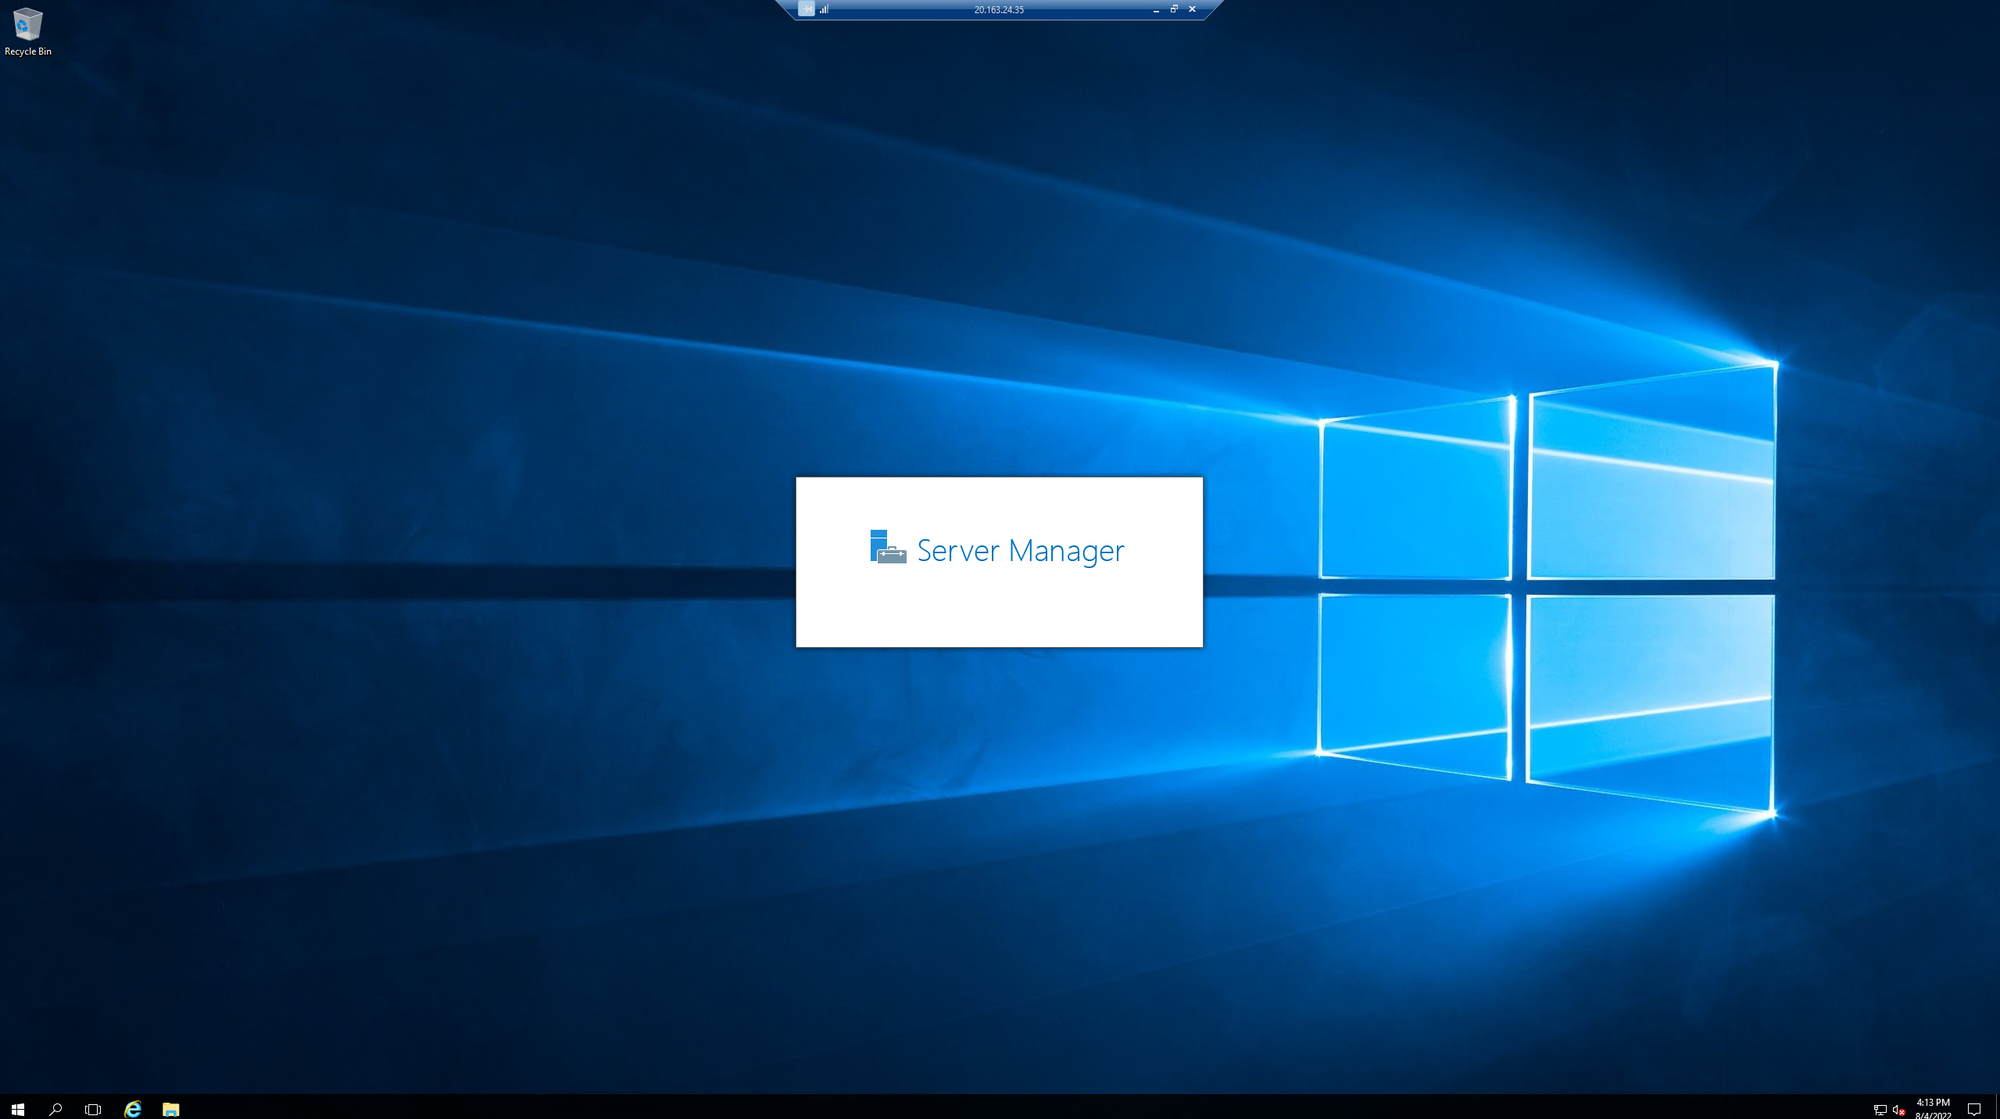
10. Use the public ip address and the administrator account you set up while configuring the virtual machine in order to connect. I just used Remote Desktop Connection that comes installed on windows to test the connection.